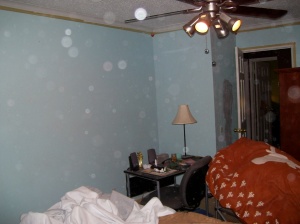
We began a remodel on our master bedroom a few months ago. Our crazy lives have basically not permitted the completion of the room but now you can feel like you can walk into the room and actually get some sleep. Before the blazing blue on the walls made me feel like skydiving or running a marathon or bungee jumping. Not exactly the feelings I want when I get home from a 15-hour day. Here is the electrifying before shot.
Forgive the terrible picture- we had already begun sanding the walls so it was rather dusty. The blue on the wall was crazy- not a good color for walls. This picture doesn’t even begin to portray its awfulness. Then add on unfinished trim, old stained carpet, an outdated ceiling fan, and our own mismatch furniture and it was recipe for anxiety. Again, great for stimulating sleep.
So we began the project by sanding the walls. The walls have about 100 layers of paint (Ok, I exaggerate), when we began to apply our primer we found it wasn’t “sticking well.” All the layers (and years) of cheap paint that was applied incorrectly (i.e.- without a good primer and in several smooth layers versus one blobby one- yes “blobby”) were taking toll. Not to mention several of those layers appeared to be high gloss that must be sanded over before applying a new paint. Our paint was peeling – taking the 15 layers under it will it- almost as soon as it dried.
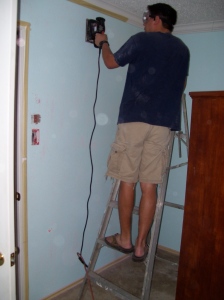
Sanding the walls was pretty easy but extremely time consuming. Since we knew we were replacing the floor we didn’t worry about covering the carpet but we did get a little excited and jumped the gun by beginning the sanding process before we emptied the room our furniture. Personally I blame it on the electric blue on the walls, I told you it was over stimulating didn’t I? This left a dusty mess all over everything in the room. So we managed to get a hold of our excitement long enough to empty the room. Word to the wise- empty a room prior to sanding walls! After all the dusty furniture was out we sanded every wall in the room to create a nice rough surface for our primer to adhere to.
My Handsome Boyfriend did most of the work. 
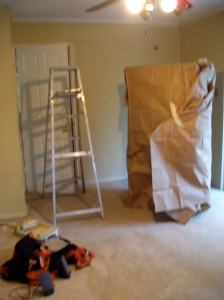
After we finally finished sanding all the walls we went ahead and primed and painted them a much nicer color.
After we had finished painting all the walls I decided the “popcorn acoustic” ceilings had to go. Stay tuned for that story. Mean while enjoy these sanding tips… and the view. I know I sure am.
TIPS FOR SANDING WALLS:
- Empty the room of EVERYTHING.
- Cover the existing flooring if you don’t plan on a) ripping it out or b) living with crazy allergies every time you walk into the room.
- Buy a decent mask- Lowes sells them in a package of 3 or 4 for a few dollars. Trust us, your lungs will be so thankful!


